In my first year as a Montessori teacher, I was a career changer with no previous experience in working with children. I went from sitting in a cubicle all day to working and talking with these little humans.
I remember observing oral language development in young children for the first time, and it came so powerfully and suddenly. What I noticed immediately in the classroom was that the children were so interested when I was speaking; especially the three-year-olds.
The three-year olds were very intrigued by words and sounds. I noticed first hand that they liked repeating large words, often scientific words.
It seemed as though they would randomly repeat the large words while having a new conversation later that day, or the following day.
During this first year of teaching I also presented a Rocks and Minerals unit to the kids and they absolutely loved it! They are so attracted to all kinds of rocks and crystals; they just want to hold them and explore.
I discovered that the kids were also fascinated by the long and funny names of the rocks and crystals!
It was so important for them to repeat the rock names, such as Amethyst, Citrine, Snowflake Obsidian, Hematite, Pumice, Rose Quartz, Sandstone, and so on. I mean, how cool!
Fast-forward 14 years later and here I am, going though the same amazement with Annie, my three-year-old daughter, at home!
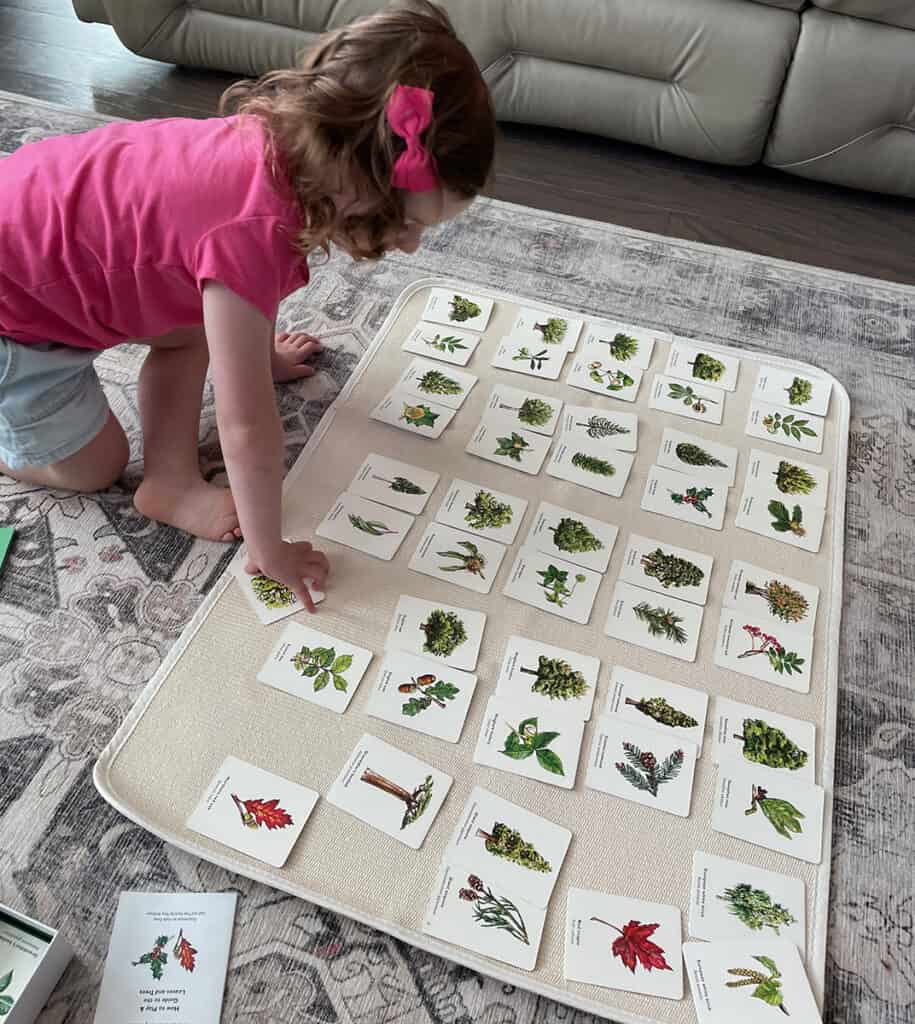
Recently, Annie and I played with a matching card set: Types of Trees and Matching Their Leaves.
For whatever reason, she kept picking out the trickiest tree name and walking around the house and saying it over and over again: “Grandidier’s Baobab!” We learned that this is a very large tree found in Madagascar. This went on for over a week!
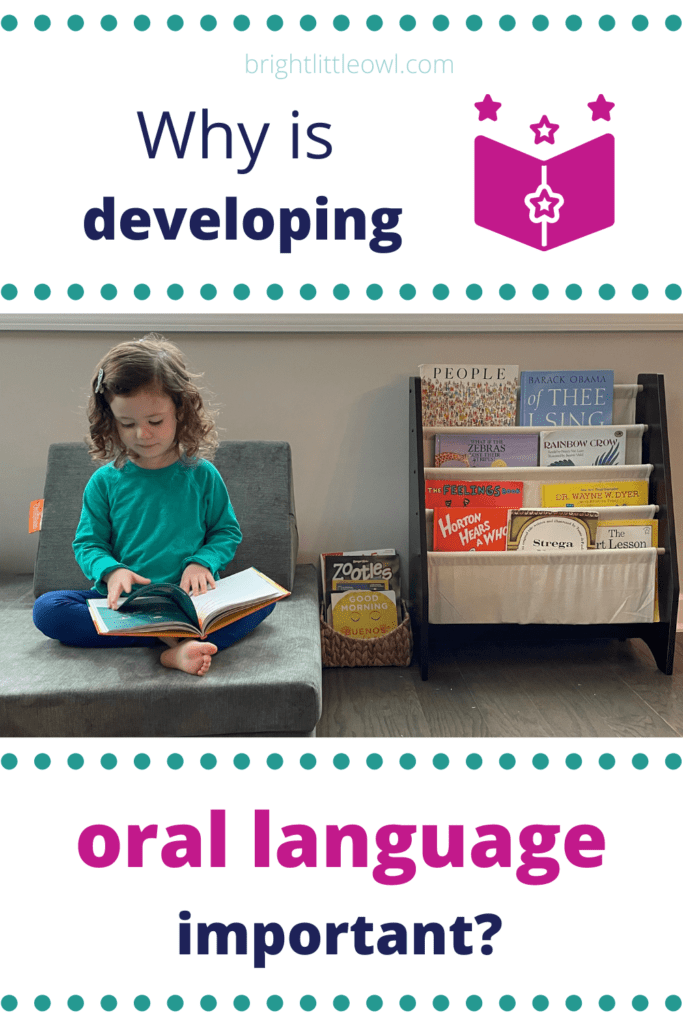
Overall, I’ve observed that there’s something so magical at this age with learning language so easily and without effort. Why is that? And as adults, why should we nurture our young children’s oral language development? And how?
In this post I’ll share with you some Oral Language preschool activities and tips and tricks I learned when I was a Montessori teacher and as a current mom of a three-year-old.
Oral language is essentially oral communication. It’s speaking, talking, listening, and verbal expression. It’s the way in which human beings communicate with each other.
Young children develop oral language easily while listening and participating in conversations with their parents, family members, teachers, siblings, and other kids. Even having simple informal conversation helps with oral language learning.
Young children develop language and learn about the world around them by:
Developing oral language in the preschool age years is crucial. It lays the foundation for successful reading and writing for the years to come. Additionally, developing oral language is important because it helps develop:
Furthermore, oral language can help young children develop:
Already, we can see that oral language is important and there are so many ways in which young children can build their oral language skills. After all, language is all around us!
Maria Montessori believed that oral language cannot be taught. She said, “it develops naturally, like a spontaneous creation. Also, its development follows fixed laws which are the same in all children.” She also said that this happens without effort, subconsciously, and mysteriously.
But are there any specific oral language activities or lessons you could provide for your child so that they have the opportunities to hear precise language? Yes of course! Check out my list of 11 Montessori Oral Language Development Activities below.
I first learned about these from my Montessori training. I talk about different tweaks and variations based on my experience over the years, as well as ideas I learned while working with Annie at home.
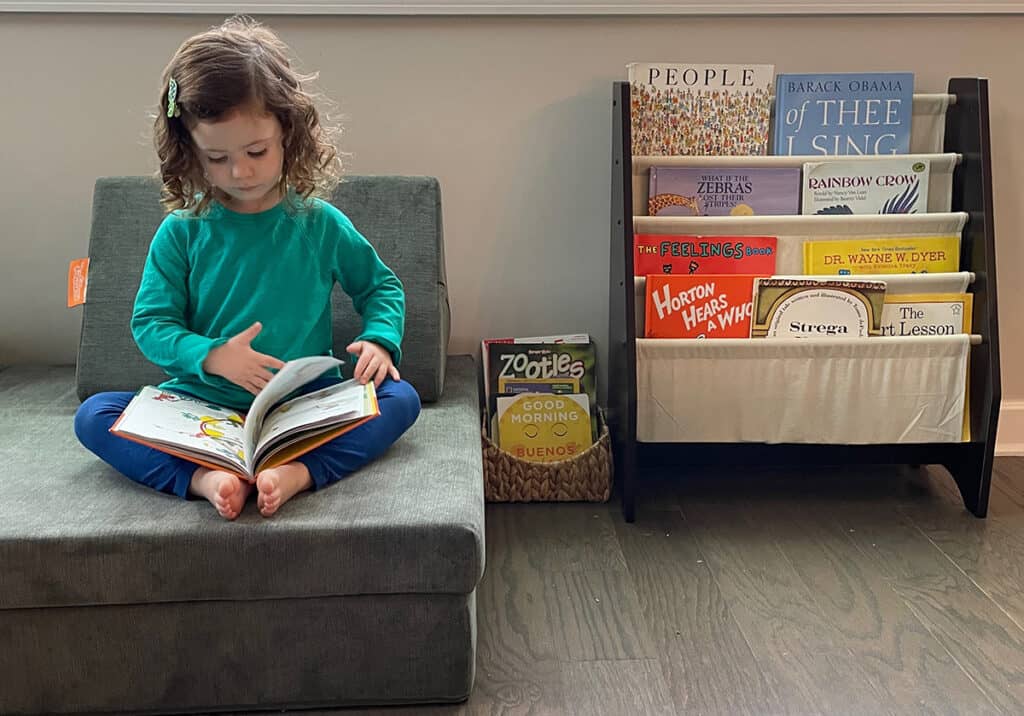
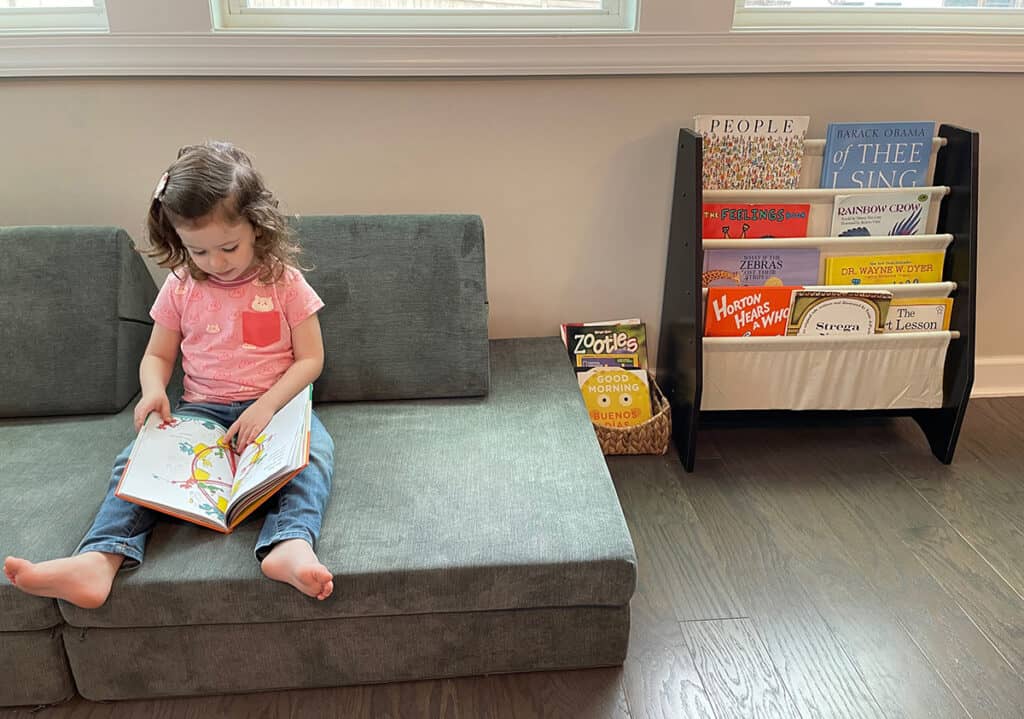
You want to provide many opportunities for stories. Read lots of books! Also include familiar stories and storytelling; about family, your neighborhood, people, where you live. Go to the library regularly and choose books together.
Have an area in the room where you keep children’s books for your child to take out independently to look at. Make the book corner cozy and attractive. Change up the books often.
It’s important for your child to hear the musical quality and rhymes of poems.
This includes short classic nursery rhymes, songs, and finger plays. You can also talk about rhymes and ask your child which words rhyme or sound the same at the end.
You can create a special board, poster or journal with special news and events that’s special to your child. It could include special activities or family occasions. You can also go over the calendar or a routine chart every day.
Teach your child social skills. Be consistent and role model.
Make it known to your child that what she has to say is important. Stop and be a good listener. Talk and be a good role model.
Ask questions about what you see in the room or what you see outside. Talk about it. Continue by asking deeper questions. For instance, “What is the cat doing? What is she eating? What else does she like to eat? What do you like to eat?”
I also talked about picture story in other blog posts:
Check them out to learn more!
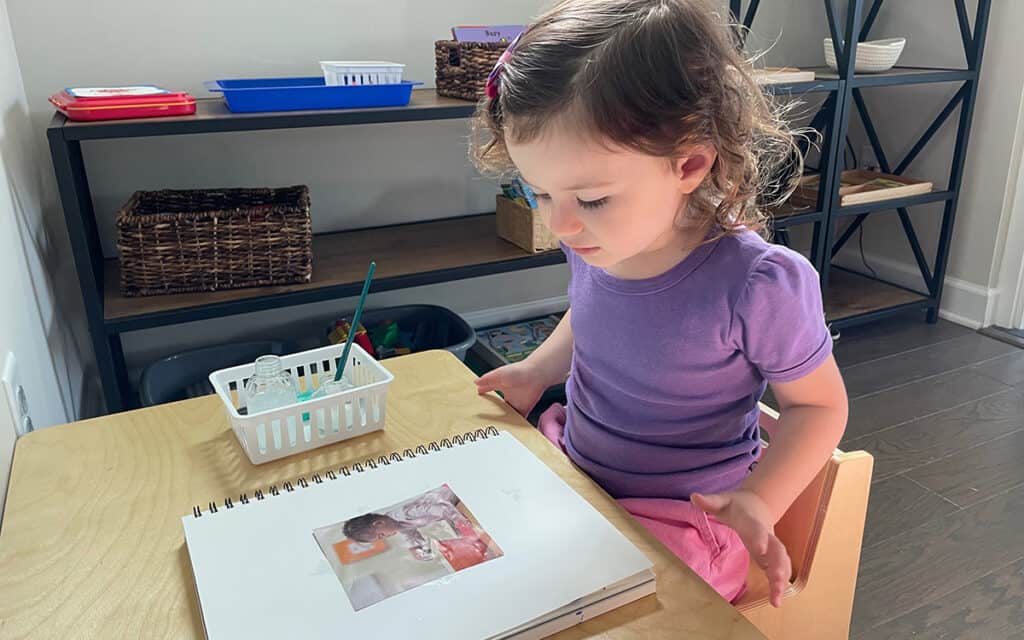
Basically, your child chooses a photo and tells her own story about what’s in the picture. Then you write down on the paper what your child said.
Picture story is such a powerful and simple lesson that helps young children to learn about the importance of print and written language, and how it connects to oral language. It also helps your child with self confidence and boosts their initiative to start telling a story.
Tip: If your child is drawing pictures, you could have her draw a picture and tell a story about it. Then, you can write down her story.
Naming is so much fun and you can turn it into a game! You can start by telling your child that we are going to play the naming game. Go around the room and touch things and name what it is.
Walk over to the shelf, touch it and say “shelf.” Then touch the table and say “table” and so on. You’re basically showing your child that everything has a name, just like you have a name!
Tip: you can make labels for everything in the room: or any or all rooms of the house.
To learn more about naming and labeling objects around the house, go to my blog post:
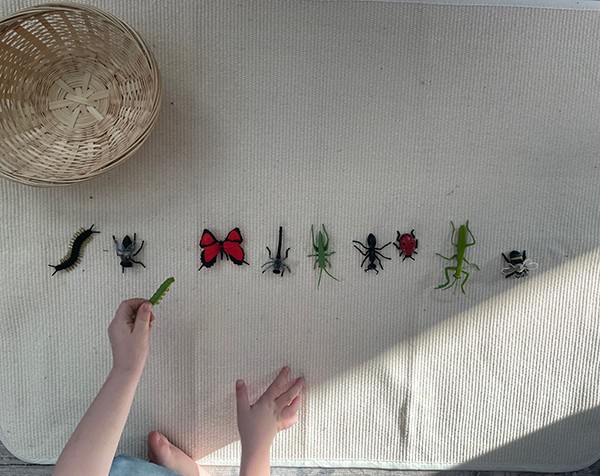
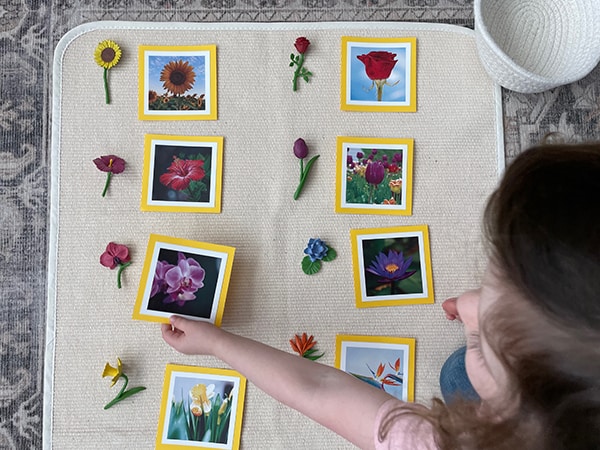
Classifying objects or pictures is a great activity that reinforces that everything has a name. It’s called “classifying objects” because all of the objects in the activity all fall under the same category.
For instance, you can do the activity with a set of farm animals or types of fruit or types of flowers. It can be any category you can think of! You can always come back to this lesson with new objects or pictures. It’s great for building your child’s vocabulary!
And you can use the Three Period Lesson (see below) to help your child learn new vocabulary with classified objects.
Tip: The first time you do classifying objects, use real objects if you can. Go into your kitchen and find about 6 different fruit. You could also use vegetables, flowers or herbs from the garden.
To read more about Classified Objects and Cards go to my blog post:
The Three Period Lesson is a technique used by Montessori teachers to help the children learn new vocabulary, sandpaper letters, colors, or other terminology. The three period lesson is broken down into three parts:
First Period : Association. Say the name of the object while pointing to the object: “This is….”
Second Period : Recognition. Say to your child, “Show me…” “Give me… ” “Pick up…” Put your elbow on…”
Third Period : Recall. Ask your child, “What is this?”
Check out my blog post for a more detailed description on how to do the three period lesson:
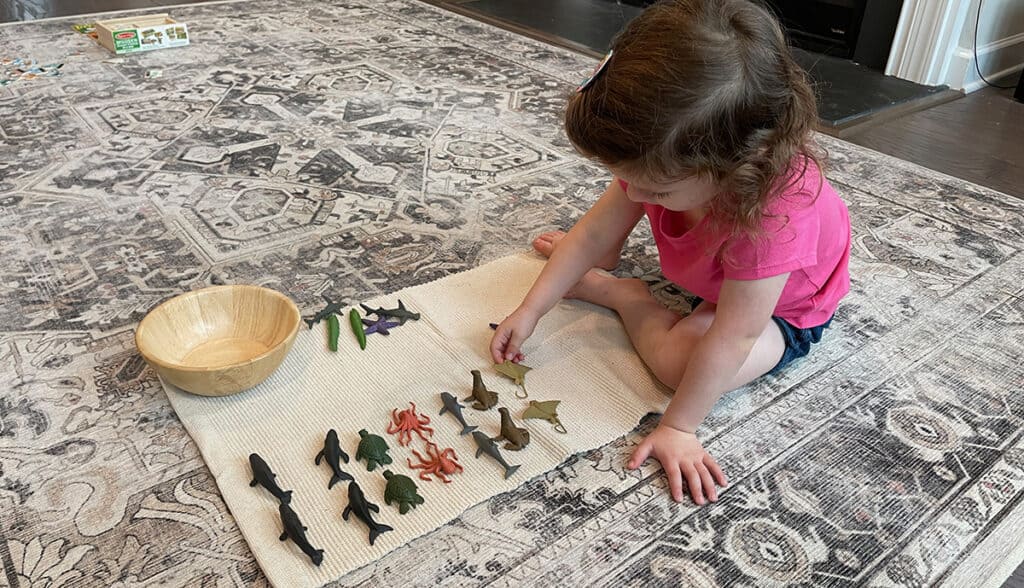
Next you could try matching objects. For example, if you have two sets of farm animal objects or two sets of fruit, you could turn it into a matching activity or game.
Matching objects also helps to boost your child’s vocabulary. It also helps with practicing order and concentration.
Tip: you could also use the three period lesson to help your child learn the names of one or two objects that she doesn’t know yet.
To read more about object-to-object matching, go to my blog post:
The next activity in the sequence, object-picture matching, also helps with vocabulary development. We also begin to explore working from the concrete object (hands-on) to the “abstract” (picture).
The trickiest part of this lesson is being able to find similar looking photos to the objects you have. This is a tough exercise for children if the image and object are too different. I’ve seen some Montessori teachers take photos of the actual objects to make their own cards to go with the lesson.
Tip: find books or photos of the objects. Going back to the example of the farm animal objects, you could use a farm animal book that has pictures of them or find photos or a card deck of farm animals.
To learn more about object picture matching, go to my blog post:
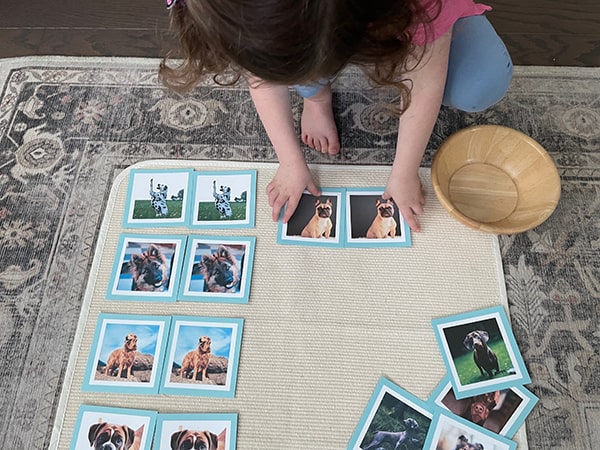
Once you’ve explored with matching objects to pictures, you can move on to matching pictures. It becomes a little bit more challenging and abstract. It also helps to develop a sense of order while developing vocabulary.
You can make your own cards and print out two copies for matching. You could also get two sets of flash cards to turn them into matching cards. Be sure that all the cards fit into the same category. For example, you could have a set of matching cards that are types of birds or you could have types of dogs.
Tip: You can play memory with the matching cards! Start out with about 4-6 pairs so that it’s not too challenging.
To learn more about picture matching, go to my blog post:
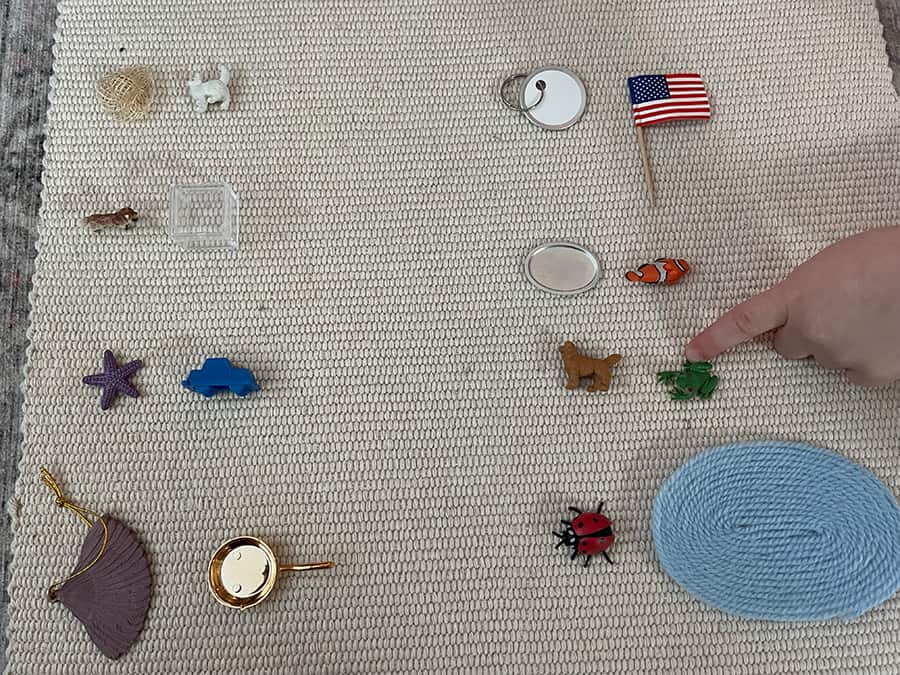
This is a matching activity. This time, you’re not matching identical photos. Instead, you are matching photos or objects that go together. You could match objects you have around the house that go together, or find photos or a card deck.
The example I gave in the beginning of this post about types of trees and their matching leaves is an example of go-together cards.
A beginning lesson you can do with objects from around the house that go together may include:
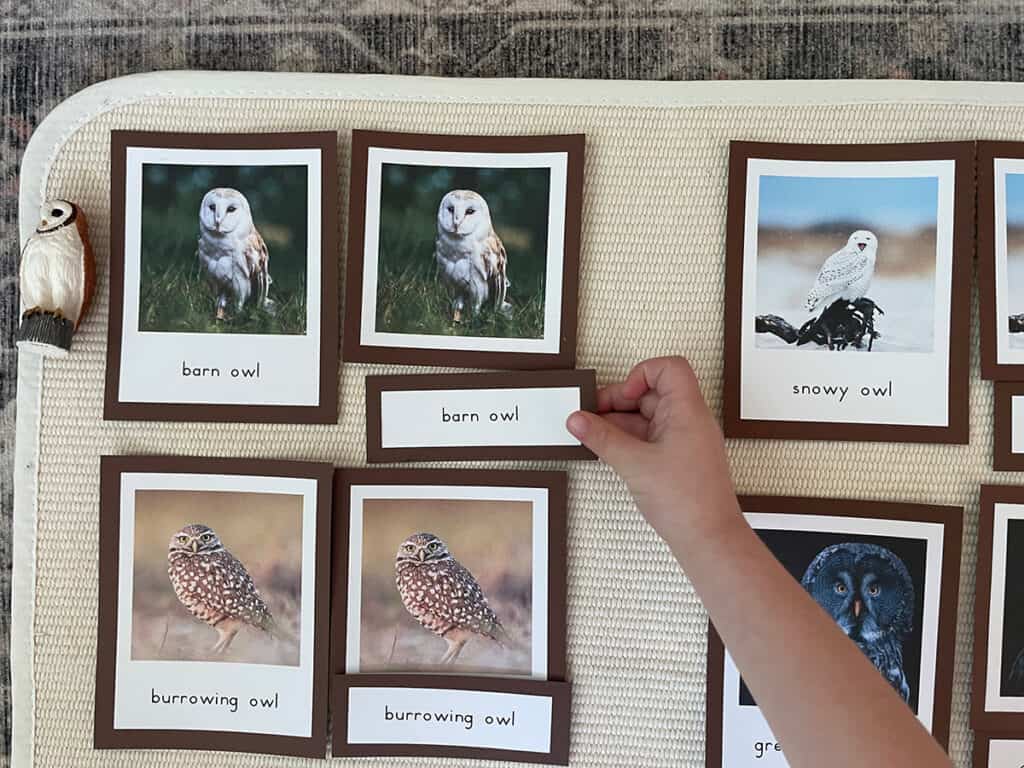
I talked about three-part-cards in a previous blog post, Montessori 3-Part Cards and Language Development: First, Get Your Hands Dirty! Check it out to learn more.
This is also a matching activity, but it’s more challenging than just picture matching because your child is matching a picture and label card with a picture only card and a label only card.
Once you get to three-part-cards and practice them with your child, the possibilities are endless. You can find or make these cards in any topic or subject you can think of! Do a search for Montessori three part cards on Etsy and you’ll see what I mean.
To read more about 3-part cards, go to my blog post:
As we follow these oral language development preschool activities, rhyming objects is the first time we get to really explore the sounds within words.
Rhyming objects is an important lesson to prepare for work with phonological awareness, or manipulating and recognizing sounds within words (I-Spy). It prepares the child for successful work with phonics, writing, and reading.
Rhyming is a matching activity, where your child matches objects or pictures that sound the same at the end. A great starting rhyming object basket may include:
Tip: It is important to repeat the names of the rhyming objects as many times as possible while doing this activity so that your child hears the rhyming repeatedly.
If you’d like to learn more about the rhyming objects lesson, go to my blog post:
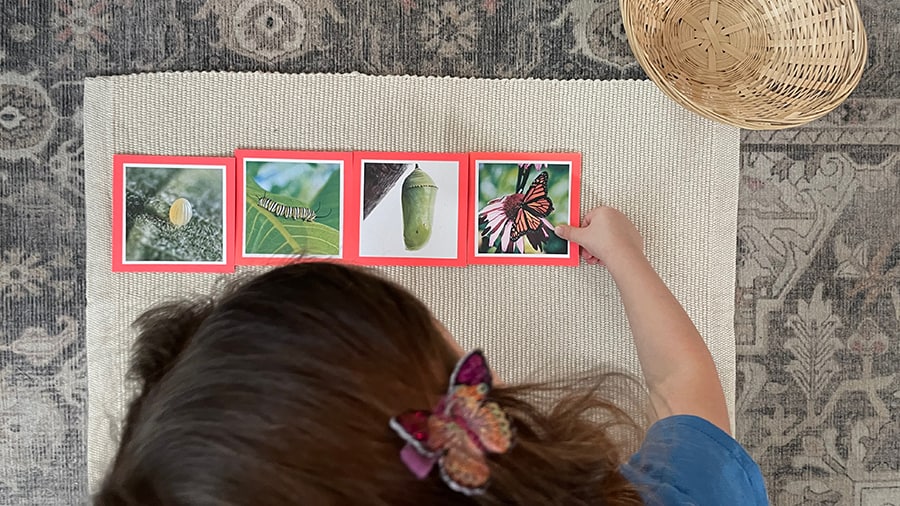
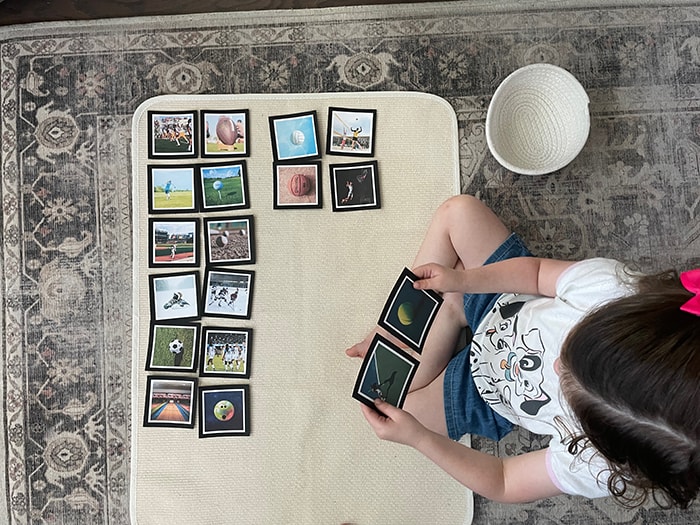
The final activity in oral language development is sequence story, which is a fun way for your child to put cards in order to tell a story. It’s also a great way to develop the concept of the beginning, middle, and end of a story. Additionally, it helps prepare for reading comprehension and story writing.
Typically, the easiest sequence story cards or objects you could find include Life Cycle of a:
You could also get an old picture book and remove some of the pages and try to put the pages back in order again.
Tip: start out with only three or four cards. You can expand with more cards as your child practices more.
To learn more about Sequence Story, check out my blog post:
As you read through the progression of these oral language development preschool activities, you may notice how the lessons start from hands on and get more challenging and abstract.
In order to be successful in presenting these activities to your child, start out with hands-on objects first (concrete), then you can try to use pictures (abstract). Also, choose topics that are interesting to your child. Follow what they love and what they talk about!
This blog post is meant to be an overview of what I learned in my Montessori training, my teaching experience, and how I tweaked some of the lessons at home with my daughter. In the coming weeks I’ll expand on all of these lessons with more detailed blog posts. Keep an eye out for them if you’d like to learn more!
I think it’s amazing that young children can learn language so easily and without effort. I see it everyday with my daughter, Annie. The important thing to remember is to provide as many opportunities for language as you can for your child even if it’s informal and at any point in the day.
Have you tried any of these oral language activities at home with your child? Have you done something similar? Let me know in the comments, below!
Note: After your child completes all of the 11 lessons of Oral Language, she is ready to move on to exploration of letter and sound! To check out those lessons, go to my blog post: